
Removing what was left of the rear end of the ATC was an adventure, bolts had rusted frozen to weld-nuts that had broke and spun free in places almost impossible to obtain access to by mere mortals of less persistance than I...
Eyeballing the 2 assemblies straight on side-by-side, familiarizing myself with what could be.

Once the mower reached this point in disassembly, it was easier to see where the fat could be trimmed. With the engine spun 180°, the front, including the front axle, up to the engine could be removed. In the middle between the engine and rear, the section aft of the clutch/brake pedal up to where the front of the rear fender was unneeded. The front area retained would still have all the pully drive components, the rear would still include the shift gate.

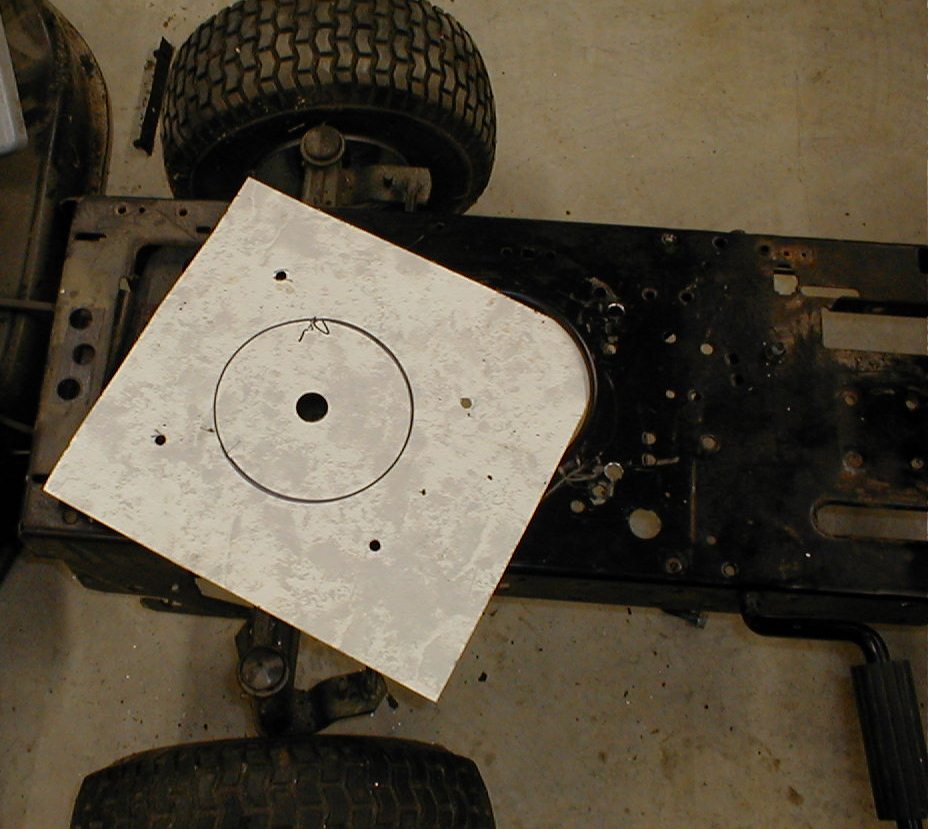
The 4 bolts that mount the engine to the frame are not in a perfect square, so new mounting holes would have to be drilled in the frame to secure the engine once spun 180°. I used a scrap piece of fiberglass sheet. A hole slightly larger than the crankshaft diameter was drilled close to the center, then the engine placed over the sheet. After several failed attempts to get pencils and scribes into the holes to mark locations, I ended up spraying battery corosion inhibiter through them, lifting the engine carefully off the sheet, then centering a punch into the blob of goop. The "AC" written on the sheet denotes the direction of the air cleaner.

With the fiberglass template placed on the frame, the accuracy of my punch marks was checked and the final marks made. Actual sized holes were then drilled in the template.
Fitment with 3/8"-16 bolts was done and the center hole in the frame the engine's pully goes through was marked from underneath.

One of the front right holes was correct for mounting the engine 180° and centering the pully in the original location. The other 3 holes had to be drilled.

I used a carpenter's square to scribe lines where the cuts would go.

Note scribe lines, and also the cracks in the frame. I guess I'm rough on mowers.

Nose section successfully removed. Oops, didn't notice that's where one end of the clutch return spring was hooked up to. I'll figure something out for that...

Engine and clutch assembly mounting area was next.

Rear section cut up to shift gate. Tabs were left for a lap weld joint to engine/clutch section. Tabs were later shortened to where the clutch pedal shaft mounts through the frame.
Engine and clutch plate c-clamped to the rear section for a visual check.

Visual check to see if engine clears shift, or if I cut too much off. Looks good to me, let's weld!
Sorry, no welding play-by-play. No close ups either, my welding could scare small children and cause women to faint.
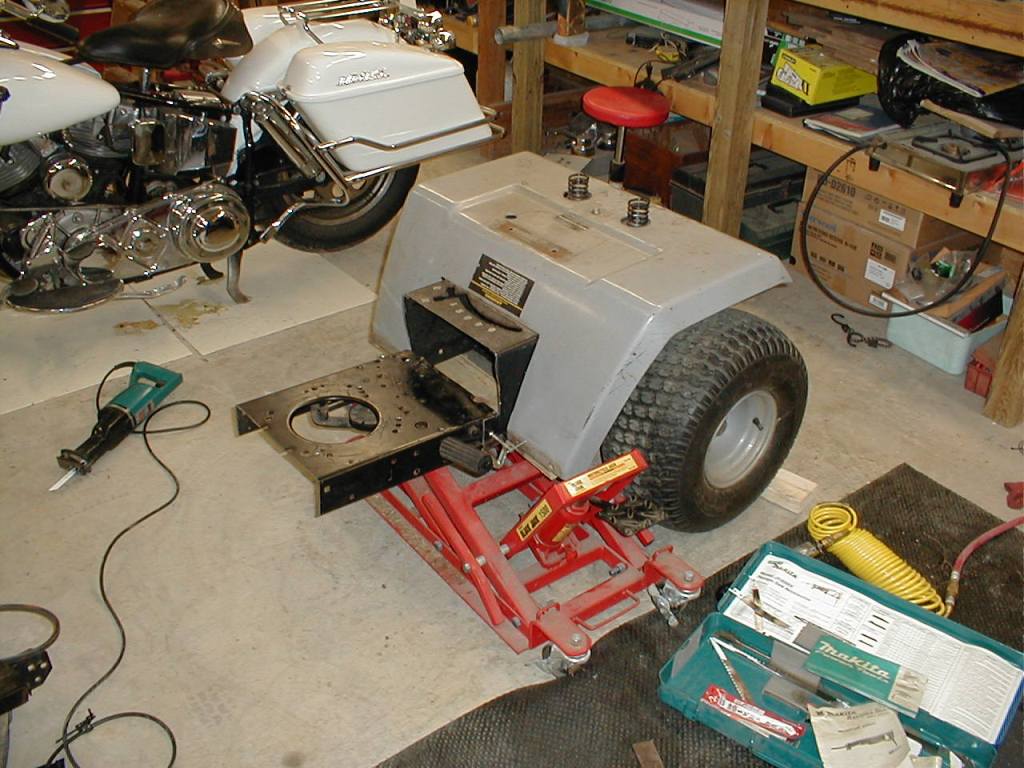
After I sat on the frame to test structural integrity, I sat the frame on the transaxle for a look.

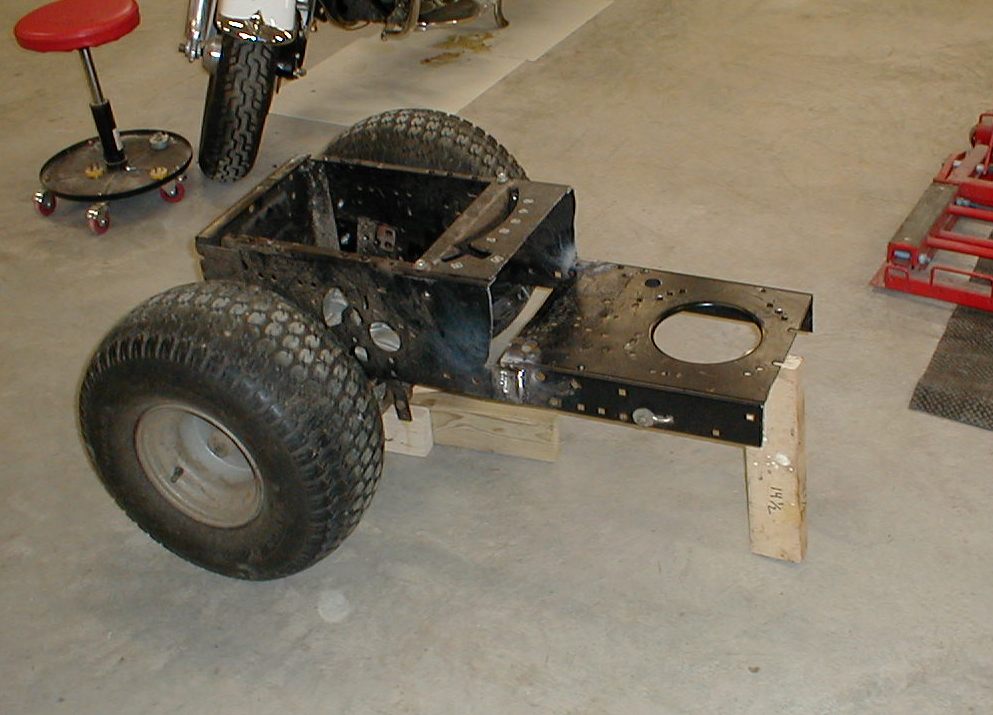
Transaxle bolted in, frame flipped up and clutch components bolted up. Note tenative new clutch spring mounting (bolt through existing hole in frame and a stack of washers), shorter clutch spring.

Frame flipped back down, engine bolted up and original v-belt laced through pullys to check to see how much shorter the new one needs to be.
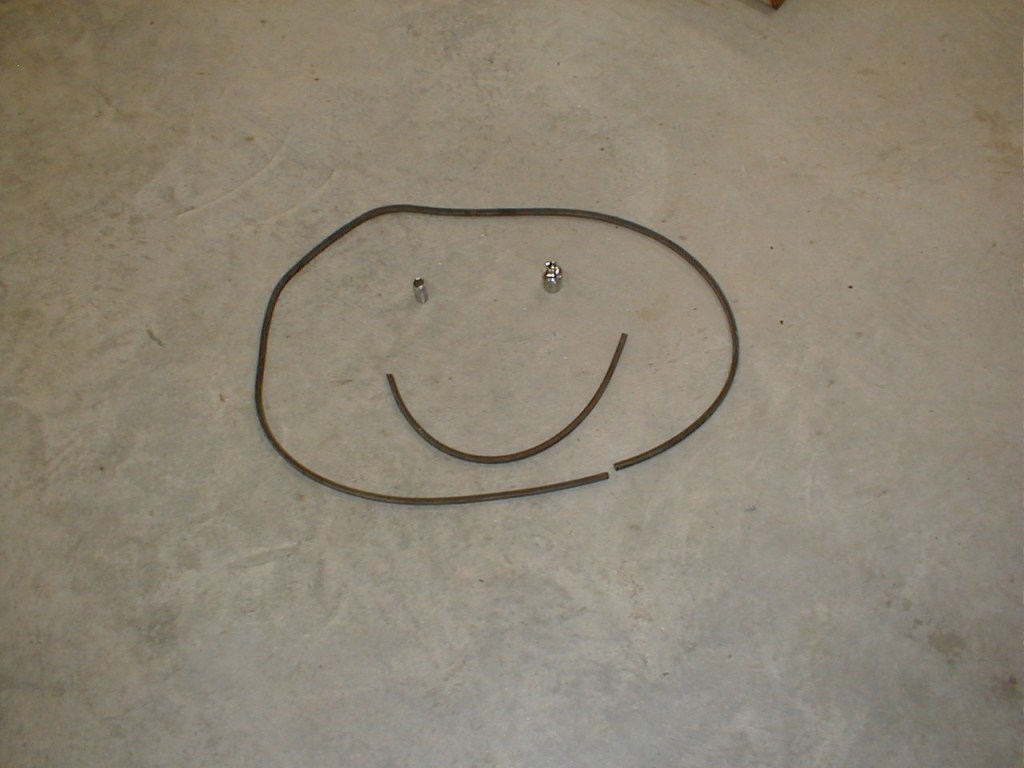
I crack myself up. SFSF made of original belt cut to size to take to measure new belt, cut section and a couple of sockets.

Mower originally had gas tank under seat and battery under hood. Battery tray moved to under seat... Amazingly, holes were already punched in frame that fit battery bracket.

Couldn't resist putting fenders and seat on to see how it looked. Also couldn't resist climbing aboard and stretching my feet out to the 2x4 and putting my hands up to feel where the handlebars should be. I resisted making "vroom vroom" noises.

I hope the sparkplugs don't arc into my legs! I'll sit with my legs spread pretty far apart. Clutch pedal will need to be hacked off and linkage to a forward control figured out.

MORE TO COME
MORE TO COME
MORE TO COME
MORE TO COME
MORE TO COME