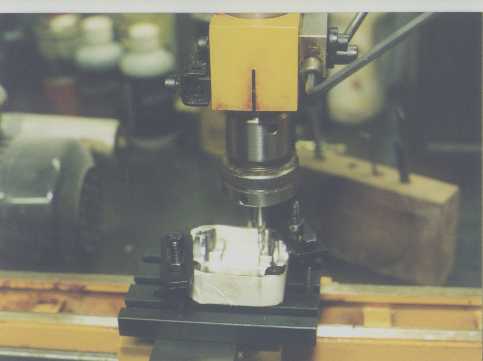
This is a mock-up, but this was how I did it, wrapped the cover in masking tape, clamped it to the table and set the mill a whirrin'. With a flat inside surface, it was easy to mount all the switches and the LED, but it was still a squeeze. Note the allen wrench at the top right of the headstock, that's how you adjust the depth of cut. You can't see the graduations on the dial, but they are there. Extremely precise. Of course you have handwheels on the lathe bed for the X & Y axis. This unit also has power feed and change gears for USA and Metric threads in the lathe portion. About the only attachment I don't have is the dividing head, although if I did I could make a second cylinder for my black powder Remington .44 copy and have a speed loader like Eastwood in Pale Rider.
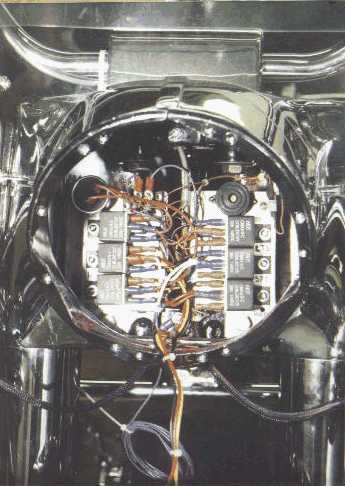
This is da brains of da business. The flasher is upper left, secured to an L-bracket by a geared hose clamp. Going clockwise again , next is a terminal strip with all the running light tie points. Jumping to the other side top is a piezo buzzer that chirps to let me know the blinkers are still on, since I don't want to be an idiot like blue hairs I cuss for leaving their's on. Next to that is a couple of diodes heat shrinked and clamped down, they are used to isolate the left and right circuits so I only need one buzzer. The rest is relays that get their control from the handlebar, then switch the heavier loads. If you're a fellow wirehead, check the schematic. The mounts are made from 2 index card sized pieces of 1/8" aluminum plate, love the stuff and have a bunch laying around left over from other projects.
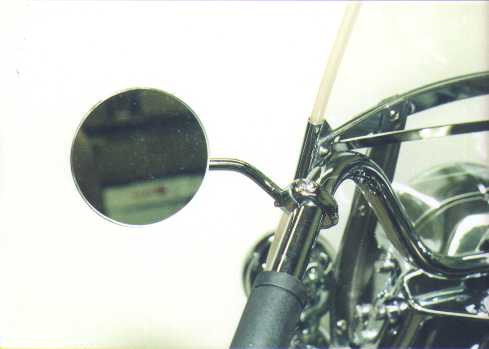
Thank goodness Miller came out with this! I've never had a mirror on the left since I had no hand clutch to mount it on and didn't like the look of the strap type of mount on the bike.